
Load Test Bridge
Design it on a budget. Then see how much it holds.
Projects that skip the planning stage
Sound familiar?
- “We start building before we agree on what we need.”
- “Budgets get spent on the wrong things.”
- “Testing only happens when it is too late.”
The Experience
Load Test Bridge is an engineering challenge with a business twist. Each team receives a budget, a price list of materials and one goal: build a bridge that spans the gap and carries as much weight as possible for the money spent.
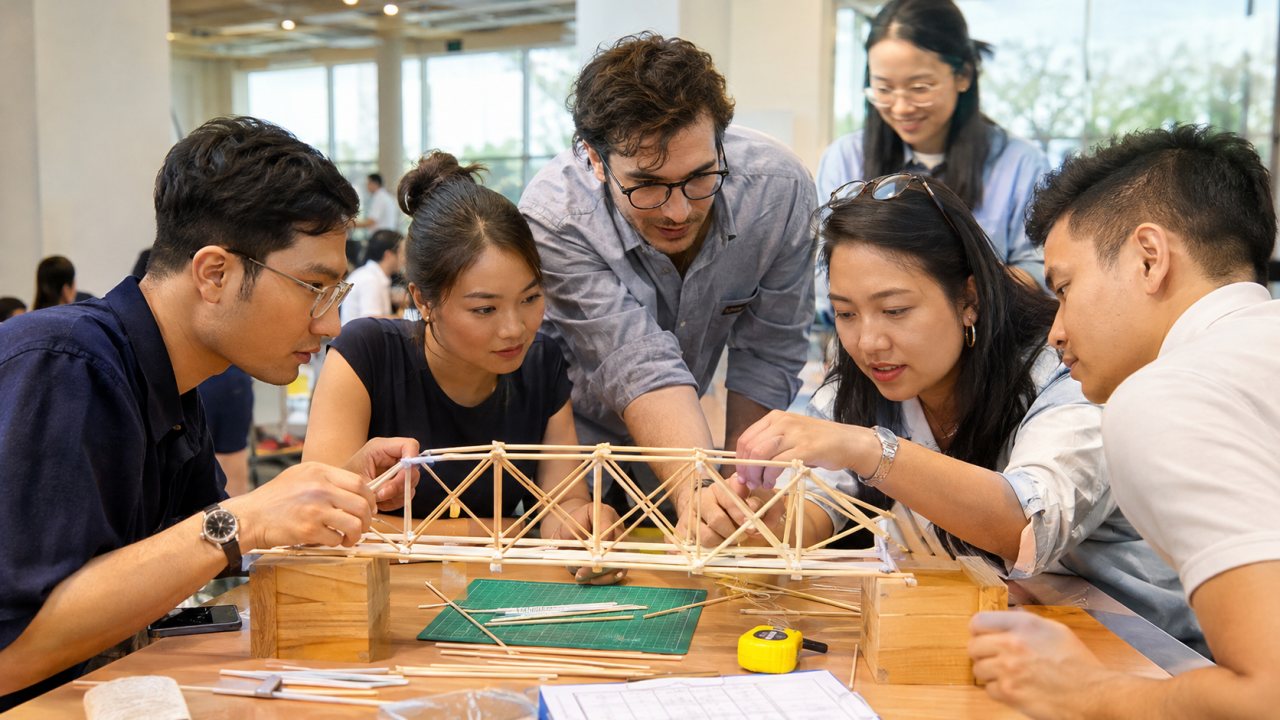
Teams plan first, sketching designs and agreeing on what to buy. Then they purchase materials and start building. Each team can run one practice test before the final, but it costs money, so teams must decide whether the information is worth the price.
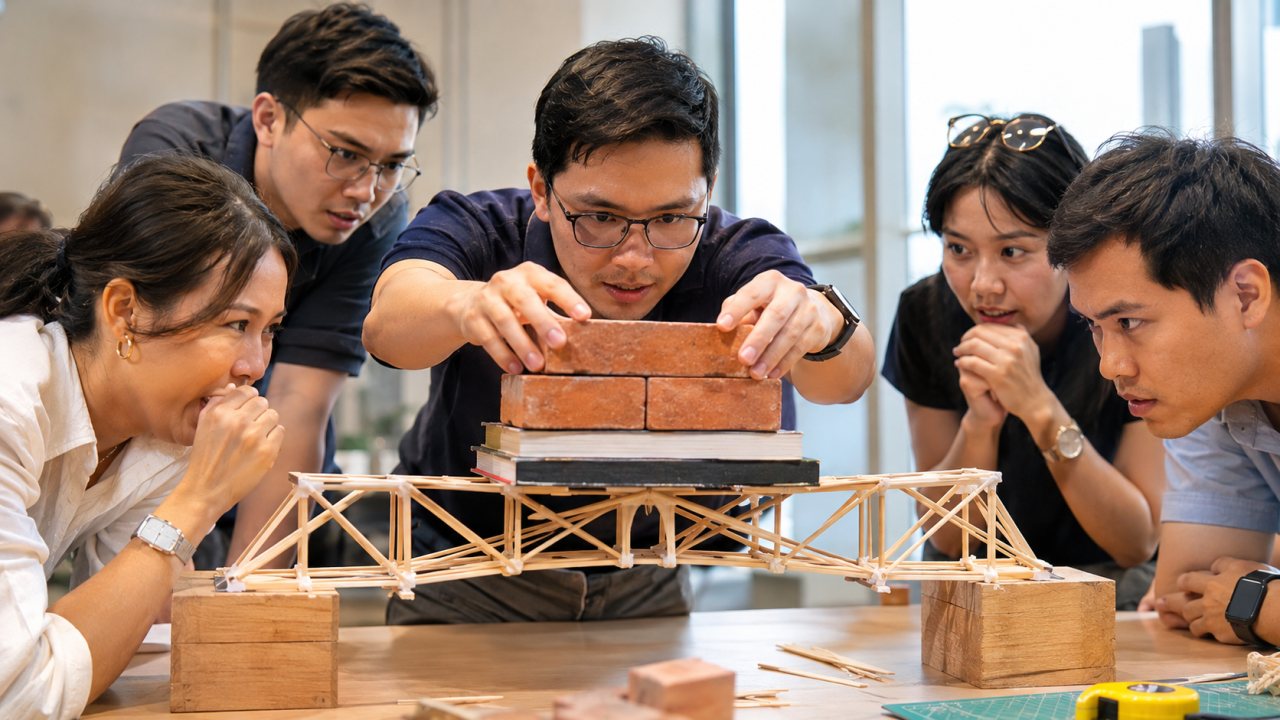
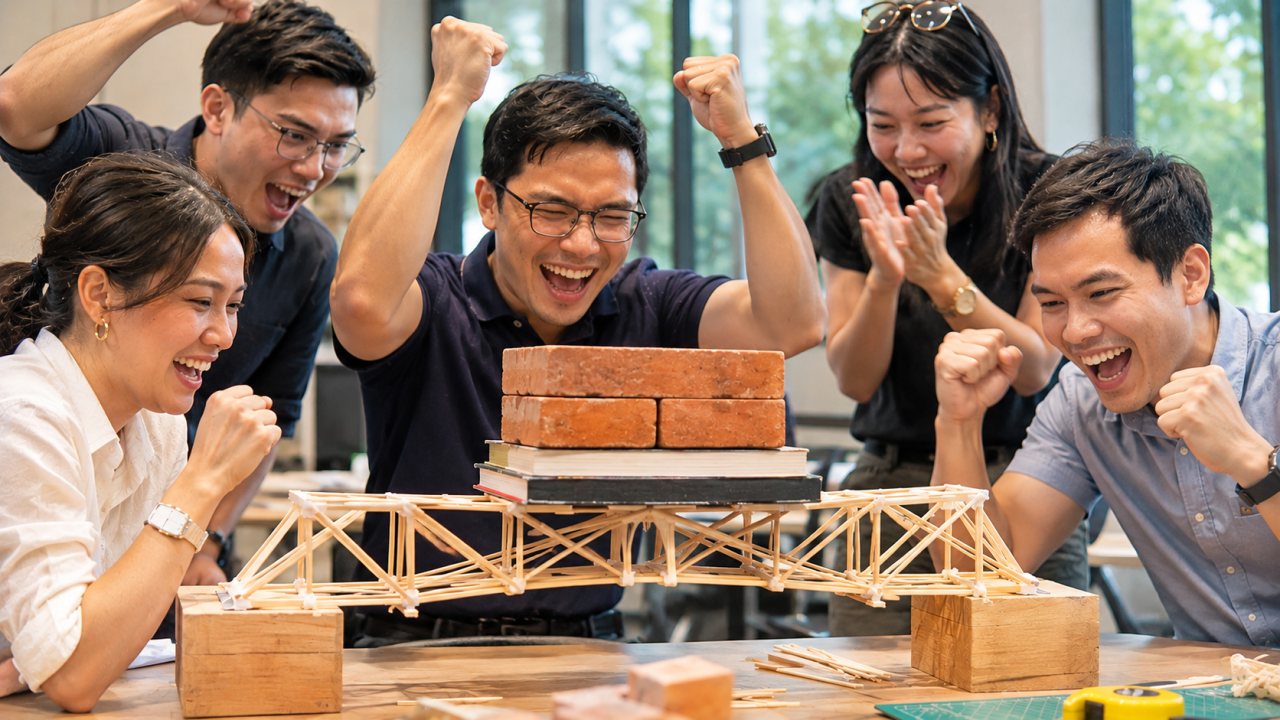
In the final, each bridge faces a load that rises step by step until it fails. The whole room watches and cheers. The score is the load held divided by the money spent, so smart design beats big spending every time.
No engineering skills are needed, because simple principles are explained at the start. The program lasts about two and a half hours, suits twelve to two hundred guests and runs in any meeting room or outdoor space in our three regions.
The Takeaways
Teams learn to plan before they build. Groups that rush into building often waste money and time, while teams that agree on a design first usually build stronger bridges for less, a lesson that applies to every project.
The budget makes every choice visible. Teams must decide where to spend and where to save, and they see the result of each decision in the load test, which turns abstract ideas about resource use into something everyone can see.
The paid practice test teaches the value of testing early. Teams that test find weak points while there is still time to fix them, while teams that skip it often watch their bridge fail at the first weight.
In the debrief, teams discuss which decision made the biggest difference and how they shared the work. Many groups agree on one planning habit to bring back to their next real project. The challenge also builds confidence across different skill sets.
Program flow
-
Briefing · 0–15 min
The facilitator explains the goal: build a bridge that spans the gap and carries as much weight as possible for the money spent. Each team receives a budget, a price list and a simple guide to bridge shapes.
-
Design · 15–45 min
Teams sketch options and agree on one design before buying anything. The best teams test ideas on paper, estimate costs and assign roles for buying, building and checking.
-
Buy and build · 45–100 min
Teams purchase materials from the supply desk and build their bridge. Prices are fixed, but the budget is tight, so every extra piece must earn its place.
-
Practice test · 100–115 min
Teams can pay for one practice load test before the final. The information is valuable, but it costs money that could have bought materials, so each team must decide if it is worth it.
-
Final load test · 115–140 min
Each bridge faces a load that rises step by step until it fails. The room watches and cheers as weights are added, and the score board shows load held per dollar spent.
-
Debrief · 140–150 min
The facilitator compares the winning designs with the rest, and teams name the decision that made the biggest difference to their result.
The game ends. The learning starts.
Every Phoenix program closes with a guided debrief. These are the questions for Load Test Bridge:
- When did we agree on a design, and how?
- Where did we spend money we did not need to?
- Was the practice test worth the cost?
- Who checked the build, and what did they catch?
- What planning habit will we use in our next project?
What we bring, what you provide
We bring
- Building materials and supply desk
- Budgets, price lists and design guides
- Load test equipment
- Facilitators and judges
- Results board and prizes
You provide
- A room with one table per team
- Space for the load test area
- Catering and refreshments
- Transport to and from the venue
Frequently asked questions
Do we need engineering skills?
No. Simple principles are explained at the start.
How big are the bridges?
About one metre long, built at a table.
Is it messy?
No. Materials are clean and easy to clear away.
How many people can take part?
From twelve to two hundred, in teams of four to eight.
Can we link it to our projects?
Yes. The debrief connects planning and testing to your real work.
How long does it take?
About two and a half hours.

The Real Brief
A real charity. A real need. Your team builds the answer.
 Hoi An
 Lantern Makers
Craft silk lanterns with local artisans, then light them up together.

Future City 2040
Build tomorrow, one district at a time.
Request a quote for Load Test Bridge
Tell us your group size, date and goals. We will reply with a tailored proposal.